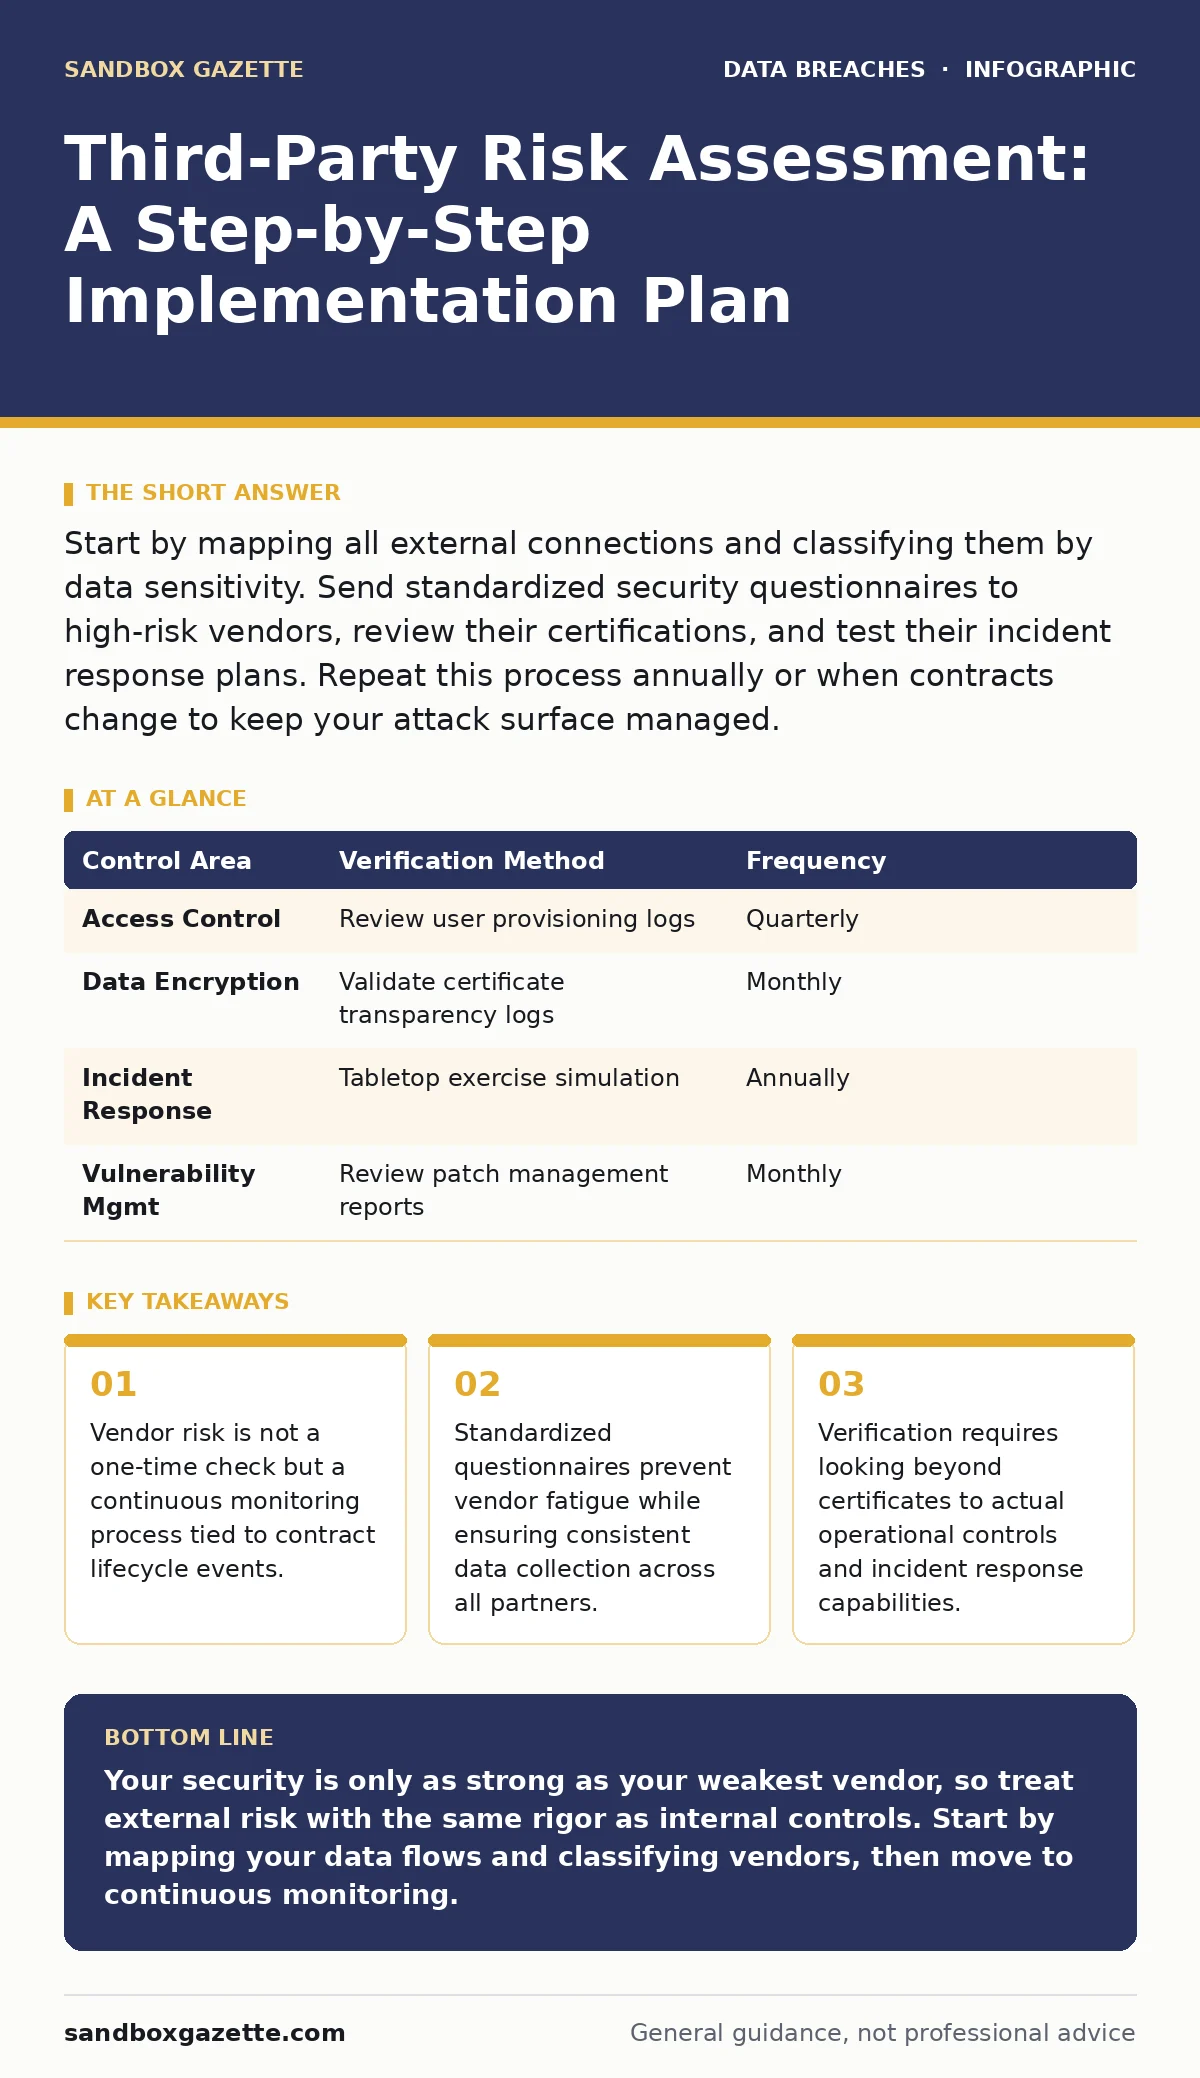
Start by mapping all external connections and classifying them by data sensitivity. Send standardized security questionnaires to high-risk vendors, review their certifications, and test their incident response plans. Repeat this process annually or when contracts change to keep your attack surface managed.
Define Your Scope and Data Flow
You cannot protect what you do not know you have. The first phase of any third-party risk assessment is identifying every external entity that touches your data. This includes software providers, cloud hosts, maintenance contractors, and even temporary staffing agencies. Many teams stop at the direct integrations, missing the layers of subcontractors who also access sensitive information. This oversight creates hidden pathways for data exfiltration that standard perimeter defenses cannot see.
Map the flow of data from your internal systems to each vendor. Note the type of data, the volume, and the direction of transfer. Is it read-only access, or can the vendor write back to your database? Understanding this flow determines the level of scrutiny required. A vendor that only receives anonymized analytics requires a lighter touch than one holding customer payment details. This mapping also helps you spot shadow IT data exposure where employees use unauthorized tools to bypass security controls.
Step 1: Classify Vendors by Risk Tier
Not all vendors pose the same threat. Group them into tiers based on the sensitivity of the data they access and the criticality of the service they provide. Tier 1 vendors handle highly sensitive data or core business functions. Tier 2 vendors have limited access or handle non-sensitive data. Tier 3 vendors are low-risk, such as office supply providers with no system access. This classification allows you to allocate resources efficiently. You spend deep-dive effort on Tier 1 vendors while using automated checks for Tier 3.
To verify this step works, review your classification against your incident response plan. If a vendor goes down or is compromised, does your plan account for them? If not, reclassify them upward. The goal is to ensure your risk appetite matches the actual exposure. A mismatch here means you are either wasting time on low-risk vendors or leaving high-risk ones unchecked.
Step 2: Deploy Standardized Questionnaires
Sending unique security questions to every vendor creates administrative chaos and inconsistent results. Instead, use a standardized questionnaire aligned with recognized frameworks like ISO 27001. This framework provides a common language for security controls, making it easier to compare responses across different industries. Focus on questions that reveal operational reality, not just policy existence. Ask how they handle key rotation, not just if they have a key management policy.
Verify this step by checking for consistency in responses. If a vendor claims to encrypt data at rest but lists no specific encryption standards, flag it for clarification. Inconsistent answers often indicate a lack of mature security practices. You want vendors who can provide concrete technical details, not vague assurances. This clarity reduces ambiguity during future audits or incident investigations.
Step 3: Validate Technical Controls
Paperwork is not proof of security. For high-risk vendors, you must validate their technical controls through independent evidence. This might include reviewing SOC 2 Type II reports, which provide an auditor’s opinion on control effectiveness over time. Look for the scope of the audit and any exceptions noted. A clean report is good, but a report with no exceptions in a complex environment can be suspicious. Ask about how they handle eavesdropping attacks on their internal networks.
You should also request a penetration test summary or a vulnerability scan report. These documents show how the vendor handles active threats. Check the date of the last test; outdated reports provide little value. Verify that critical vulnerabilities were remediated within an acceptable timeframe. This step moves the assessment from theoretical compliance to practical resilience. It ensures the vendor’s defenses can withstand real-world attempts to breach their systems.
Step 4: Assess Incident Response Alignment
A breach at a vendor is a breach for you. You need to know how they will react when things go wrong. Review their incident response plan to ensure it includes notification procedures that meet your requirements. Check if they define specific timelines for alerting you after detecting a compromise. Vague promises like "we will notify you promptly" are insufficient. You need specific hours or minutes.
Verify this alignment by conducting a tabletop exercise. Simulate a breach scenario where the vendor is the source. Does their contact list include your security team? Do they have a clear escalation path? If the exercise reveals gaps, update the contract or require a revised plan. This preparation reduces confusion during an actual incident, allowing you to focus on containment rather than coordination. It also supports timely breach notification if regulatory requirements apply.
See also: What Is User Provisioning: The Hidden Access Risk · Backup vs Archive: The Critical Difference for Data Resilience
Step 5: Integrate Continuous Monitoring
Static assessments become outdated quickly. Vendor environments change, and new vulnerabilities emerge. Implement continuous monitoring to track changes in the vendor’s security posture. This can include subscribing to security ratings services that aggregate public data and scan results. Look for changes in their domain configuration, certificate validity, or exposure of administrative interfaces. These signals often precede a significant security event.
Check that your monitoring tools cover the full lifecycle of the vendor relationship. From onboarding to offboarding, you need visibility. When a contract ends, ensure all access is revoked and data is destroyed. Verify this by checking for residual credentials or open API endpoints. Continuous monitoring catches drift that annual assessments miss. It provides early warning signs that allow you to intervene before a small issue becomes a major breach.
| Control Area | Verification Method | Frequency |
|---|---|---|
| Access Control | Review user provisioning logs | Quarterly |
| Data Encryption | Validate certificate transparency logs | Monthly |
| Incident Response | Tabletop exercise simulation | Annually |
| Vulnerability Mgmt | Review patch management reports | Monthly |
Maintain and Update the Program
Third-party risk management is not a project with an end date. It is a continuous discipline that requires regular upkeep. Schedule annual reviews of all vendor assessments, even for low-risk tiers. Technology evolves, and so do threats. A vendor that was secure five years ago may now be using outdated software. Update your risk classification if the vendor’s role or data access changes.
Ensure your team stays informed about emerging threats. Read about recent password leaks or email encryption failures to understand how attackers are evolving. Apply these lessons to your vendor assessments. If a new attack vector emerges, ask your vendors how they mitigate it. This proactive approach keeps your program relevant and effective. It transforms third-party risk from a compliance checkbox into a strategic advantage.
Key takeaways
- Vendor risk is not a one-time check but a continuous monitoring process tied to contract lifecycle events.
- Standardized questionnaires prevent vendor fatigue while ensuring consistent data collection across all partners.
- Verification requires looking beyond certificates to actual operational controls and incident response capabilities.
Your security is only as strong as your weakest vendor, so treat external risk with the same rigor as internal controls. Start by mapping your data flows and classifying vendors, then move to continuous monitoring.
Frequently asked questions
How often should I re-assess a low-risk vendor?
Re-assess low-risk vendors annually or when their contract terms change significantly. This balances administrative effort with security needs.
What if a vendor refuses to share security details?
Treat refusal as a high-risk indicator. Consider terminating the relationship or restricting access to non-sensitive data only. Transparency is a basic requirement for trust.
Can I use automated tools for all vendors?
Automated tools are excellent for Tier 2 and 3 vendors. For Tier 1 vendors, combine automated data with manual review and direct engagement to understand nuanced controls.
How do I handle subcontractors?
Require your primary vendor to manage their subcontractors’ risk. Include contractual clauses that mandate the same security standards for all downstream partners.
How this guide was produced: written by the Sandbox Gazette editorial team with AI assistance, checked against the public references listed below, and reviewed when the facts change. See our editorial policy or report an error.